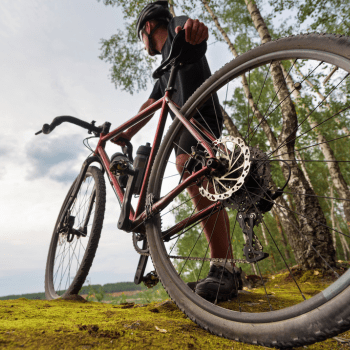
How to Adjust Road and Gravel Bikes for the Perfect Fit
Tailoring your bike fit goes far beyond saddle height. From crank length to handlebar flare, here’s how to get it right.

Why Bike Fit Matters
When it comes to road and gravel cycling, getting your position right makes all the difference. The foundation of a good fit starts with selecting the correct frame size. A frame that’s too large or small limits adjustability and can negatively affect handling. As a professional bike fitter, I always say: the best time to get a bike fit is before buying the bike.
Step 1: Saddle Position
The saddle forms the base of your position. Adjust it correctly, and you can avoid many common issues like back pain, numb hands, or knee discomfort. Focus on these key adjustments:
Saddle Height
- Adjust via the seatpost. Always stay within the maximum height markings or manufacturer guidance.
- Integrated seat masts offer limited adjustment—packers allow for millimetre-level tweaks.
- Cutting carbon seatposts? Be cautious. Use a carbon-specific saw blade, dampen the cutting area, wear a mask, and cut outdoors.
Fore-Aft Saddle Position
- Slide the saddle along the rails, ideally centring it to maintain comfort and reduce stress on the rails.
- Choose seatposts with different setback (e.g., 0mm, 20mm, 40mm) to fine-tune position.
- Avoid large jumps—adjust in 2–3mm increments to hit the sweet spot.
Saddle Tilt
- Use a straightedge and digital angle finder for accurate measurement.
- Slight nose-down tilt often benefits female cyclists and enhances pelvic rotation.
- Too much tilt? You may overload your hands—especially noticeable on long descents.
Step 2: Foot Position and Pedal Setup
For riders using clipless pedals, cleat adjustment is key:
- Q factor can be altered with lateral cleat movement or spacers between pedal and crank.
- Rotational adjustments impact comfort and knee tracking.
- Longer axle pedals offer more stance width options. Be cautious with thread engagement!
Crank Length
- Shorter cranks suit riders with shorter legs or aggressive TT positions.
- Longer cranks can inhibit hip closure and disrupt smooth pedalling in compact spaces.
Step 3: Handlebar and Cockpit Adjustment
Stem Height and Reach
- Adjust height using headset spacers. Most bikes offer 30–40mm of stack height with 5–10mm spacers.
- Remember: lowering your stem increases reach due to head tube angle.
- Use a longer compression bung when cutting carbon steerers—see Canyon Speedmax recall for context.
Stem Length and Angle
- Common lengths: 60–130mm. Length affects handling—shorter = twitchier, longer = more stable.
- Flipping stems can change bar height and reach. Example: flipping a -6° 100mm stem increases height by 20mm and shortens reach by 6mm.
- Need more? Consider extreme stems like the -20° Deda Pista or +35° risers.
Handlebar Design Choices
- Width: Measured differently by brands (centre-to-centre vs. outside-to-outside). Check schematics!
- Flare: Found mostly on gravel bars—up to 30° flare adds drop width for off-road control.
- Sweep: A backward angle on the tops improves wrist comfort and reduces reach.
- Forward Extension: Affects reach to hoods. Ideal for those with large hands or who lean on the tops.
- Bar Rise: Found on gravel bars like the Genetic D-Riser 4. Adds 20mm stack height if needed.
Summary: The 6 Key Adjustable Components
To tailor a bike to the rider, we work with:
- Saddle height, tilt, and fore-aft
- Cleat position and Q factor
- Crank length
- Stem height, reach and angle
- Handlebar width, flare, sweep, rise, and extension
- Seatpost setback
That’s 6 components and 13 adjustment points—each playing a role in creating comfort, power and control on your bike.
Need Help Setting Up Your Bike?
If you’re unsure how to apply these adjustments, book a professional bike fit with me at Fit My Bike in Leicestershire. We’ll test every factor and get your setup dialled in. It’s always cheaper to get it right first time than waste money on the wrong frame or parts.
Thank you for reading our latest blog, How to Adjust Road and Gravel Bikes for the Perfect Fit. If you have any question please Get In Touch.
Scott
fitmybike.co.uk
